

 When designing Marceline Shops, I was limited to the available space of a bookshelf. There isn’t a lot of room for extra track work, so utilizing each track I have is an attractive option. Operating sessions will be set around the servicing of 6 locos a day and they will
mostly be small. 4-4-0s and 2-6-0s are the mainstream with a rare
2-8-0 getting turned. With this type of load one track could handle all activities
and another could be the supply track for sand and coal as well as the ash pit.
When designing Marceline Shops, I was limited to the available space of a bookshelf. There isn’t a lot of room for extra track work, so utilizing each track I have is an attractive option. Operating sessions will be set around the servicing of 6 locos a day and they will
mostly be small. 4-4-0s and 2-6-0s are the mainstream with a rare
2-8-0 getting turned. With this type of load one track could handle all activities
and another could be the supply track for sand and coal as well as the ash pit.
On the other track, space for the small tower discharge chute, a water crane,
and the sand pipe can be added to the coal tower. If additional parking
spaces are needed for engines ready to go a couple of open stall tracks
could be added around the table or an engine pocket could be added in the yard. If you figure an hour to coal sand and water a locomotive you
should have plenty of time to clear the track for the next loco.
When the sand is unloaded a gon can be parked to clean out the ash pit
on the next track. Coal and sand could easily be delivered at the same
time as there are spaces for two cars. In an emergency if designed
properly locomotives could travel down the supply track if adequate
clearances were maintained. The term turning a locomotive means more than just swapping ends, it
means getting it ready for the road. That could mean 2 hours to maybe
eight for ordinary things. More if the locomotive needs to go to the shop.
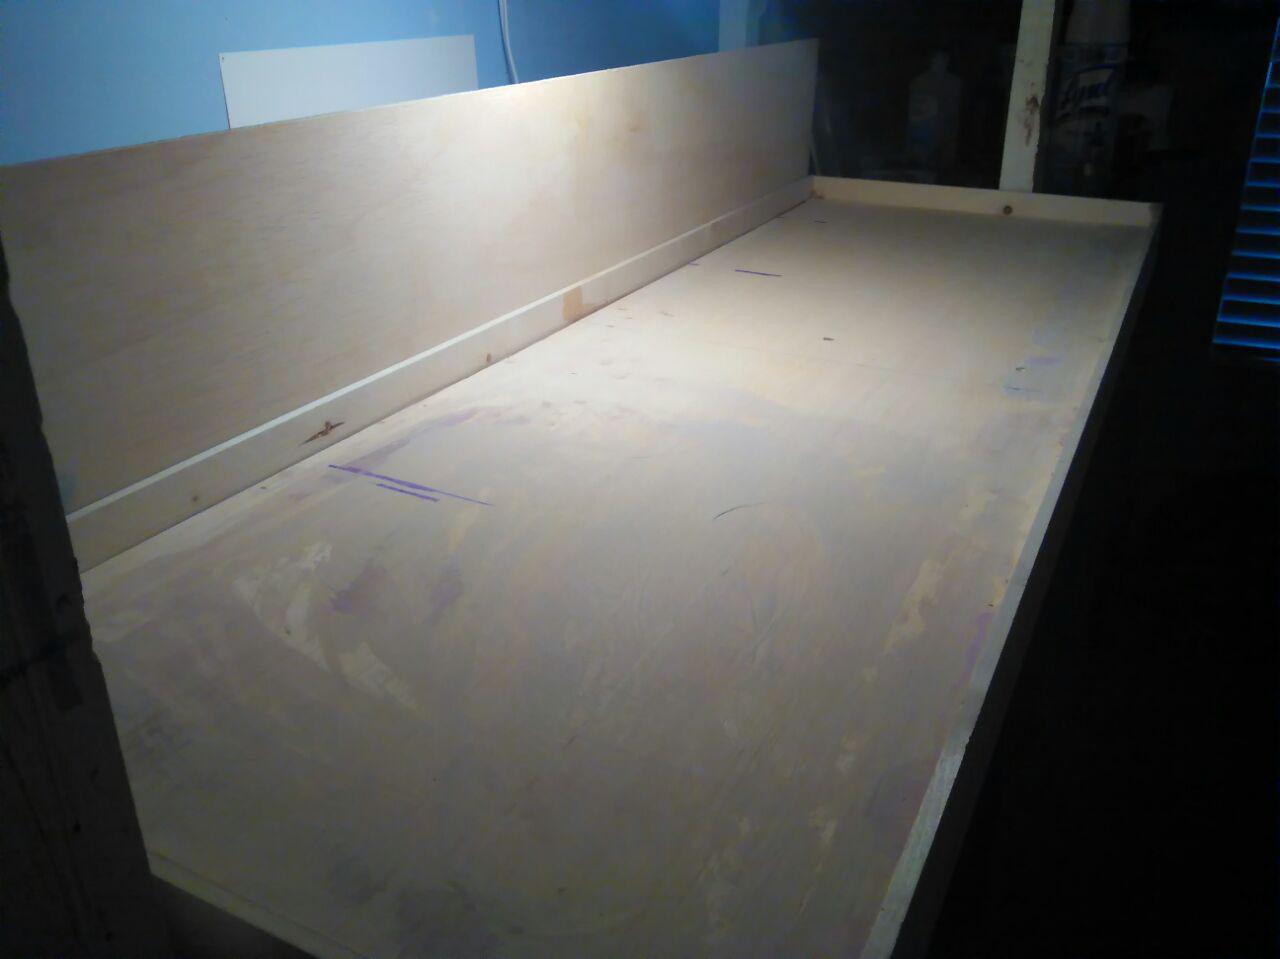
 The main base of the layout it one inch foam, painted earth brown. Pretty early on I was talked into hand laying the track on Marceline
Shops. One of the neat advantages to handlaying is that I was able to
have working 19th century stub switches. A friend of mine who has more
experience in these matters showed me how to build one of these suckers
without resorting to crutches like Fast track jigs and whatnot. The end
result is stunning.
The main base of the layout it one inch foam, painted earth brown. Pretty early on I was talked into hand laying the track on Marceline
Shops. One of the neat advantages to handlaying is that I was able to
have working 19th century stub switches. A friend of mine who has more
experience in these matters showed me how to build one of these suckers
without resorting to crutches like Fast track jigs and whatnot. The end
result is stunning.I am using code 55 rail in order to represent the light rail found in 19th century track-work. The rail is spiked down to the ties, which are hand stained using Micro-Mark "Age-It"

One of the neat tricks used in this process was takeing the Atlas Tru-Track roadbed and using is as a jig to place ties. The road bed, minus the track, forms ready made curves and straits. The ties are simply dropped in place, and then a strip of tape is run across the top. Glue is run in a bead down the roadbed, and the ties are dropped atop the glue. Once the glue dries, the tape is pulled away.

I'm using Liquid nails for the majority of the layout. Although my friend recommend a silicone glue for some of the tighter areas as it allows for a more firmer grip between the spikes and the foam. The next step, once the mainline is in place and glued, is to dig the pit for the turntable. I am planning on retro-fitting an Atlas full-deck hand turntable.
We have an idea on how to motorize it, however that will be a topic for another post.
No comments:
Post a Comment